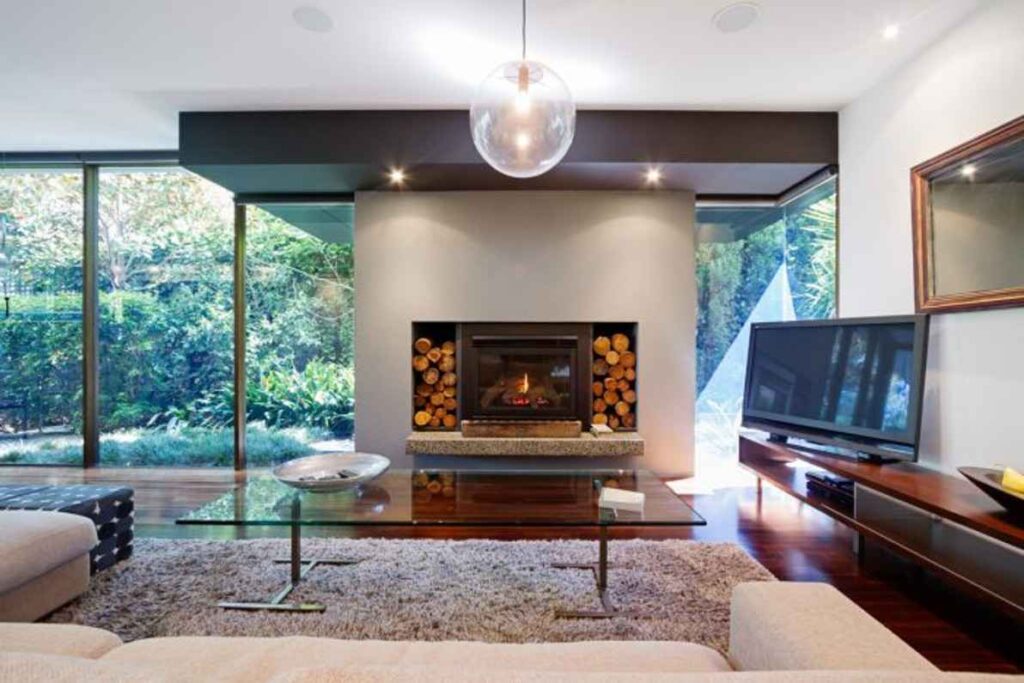
Transform Your Outdoor Space with Stunning Globe Lights
A warm summer evening, a gentle breeze, and a beautifully lit backyard that invites relaxation and conversation. Globe string lights setup can effortlessly transform any backyard lighting design into a magical retreat. Whether you’re looking for DIY patio lighting ideas or an easy way to enhance your outdoor ambiance, installing weatherproof outdoor lights is the perfect solution. Let’s dive into the best tips for setting up LED globe lights for your backyard to create an inviting and stylish atmosphere.
Choosing the Right Globe Lights for Your Outdoor Space
Before you start your outdoor lighting installation, it’s crucial to pick the right type of light. Not all globe lights are created equal, and selecting the perfect ones will determine the longevity and brilliance of your setup.
- LED vs. Incandescent – LED globe lights for the backyard are energy-efficient, long-lasting, and produce less heat compared to incandescent bulbs. While they require a slightly higher initial investment, they ultimately help reduce your energy costs and last much longer, making them a smart and cost-effective choice.
- Weatherproof Features – Always opt for waterproof outdoor lighting options to withstand rain, wind, and other harsh conditions.
- Dimmable or Smart Features – If you want full control over your outdoor lighting, choose dimmable lights or smart globe lights that can be adjusted via an app.
Planning the Layout: Where and How to Hang Globe Lights Safely
A well-thought-out layout is essential for a successful globe string lights setup. Whether you’re lighting up a patio, deck, or garden, following these tips will ensure a seamless installation.
- Measure Your Space – Determine how much lighting you need and where the power sources are located.
- Use Sturdy Anchor Points – To ensure hanging globe lights safely, secure them to stable structures like trees, poles, or your home’s exterior.
- Create a Design Plan – Consider different hanging styles like zig-zag patterns, straight lines, or canopy effects to enhance your outdoor ambiance lighting.
Step-by-Step Guide to Installing Globe Lights
Once you have your layout ready, it’s time to install your lights. Follow these steps for a hassle-free outdoor lighting installation:
- Gather Your Tools – You’ll need hooks, clips, extension cords, and a ladder.
- Set Up Support Structures – If trees and walls aren’t available, install poles or posts for support.
- Attach the Lights – Securely fasten the lights using zip ties, hooks, or mounting clips.
- Connect to Power – Use weatherproof outdoor lighting options like outdoor-rated extension cords and surge protectors.
- Test Your Setup – Before finalizing, turn on the lights to ensure proper placement and functionality.
Energy Efficiency: Save Money While Enjoying a Beautiful Glow
Keeping your outdoor space beautifully lit doesn’t have to cost a fortune. By choosing energy-efficient outdoor lighting, you can enjoy the ambiance without skyrocketing energy bills.
- Use LED Bulbs – They consume up to 80% less energy than traditional bulbs.
- Incorporate Timers & Motion Sensors – These ensure your lights are only on when needed.
- Solar-Powered Options – If your space gets ample sunlight, consider solar-powered globe lights to cut down on electricity usage.
Creating the Perfect Mood with Accent and Security Lighting
Globe lights aren’t just about aesthetics—they also add functionality to your outdoor space. Combining different lighting types enhances both safety and beauty.
- Accent Lighting – Highlight pathways, garden features, or cozy seating areas.
- Security Lighting – Pair globe lights with motion-activated security lighting to improve safety around your home.
- Holiday & Game Day Lighting – Change up your decor with festive holiday lighting or color-changing game day lighting for special events.
Maintenance Tips to Keep Your Globe Lights Shining Bright
Proper maintenance ensures the longevity of your backyard lighting design. Here are some essential upkeep tips:
- Regular Cleaning – Wipe down bulbs and fixtures to remove dirt and debris.
- Check for Damage – Inspect wires, plugs, and bulbs regularly for wear and tear.
- Store Properly – If using seasonal patio lighting, store them carefully to prevent tangles and breakage.
Elevate Your Outdoor Area with Additional Lighting Options
If you love how globe lights transform your space, consider adding complementary lighting options for a complete look:
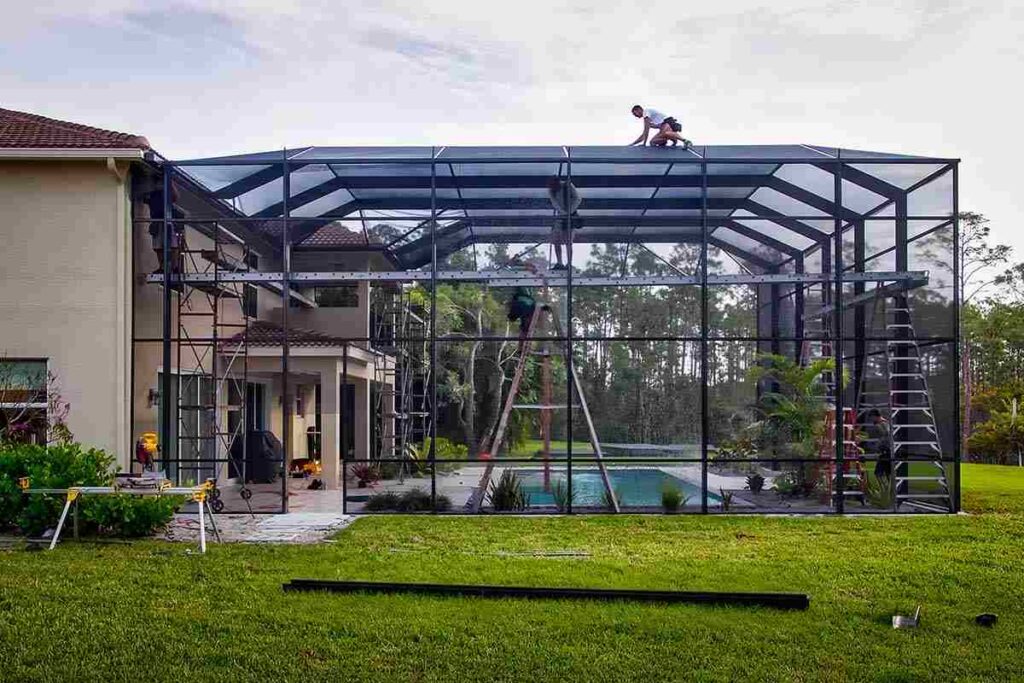
- Pool Cage Lighting – Install lights around pool enclosures for a resort-like feel.
- Down Lighting – Create soft, subtle illumination by placing lights high up and angling them downward.
- Patio Lighting – Enhance seating areas with warm, inviting lights for evening gatherings.
Final Thoughts
Installing globe lights is one of the easiest ways to add warmth and charm to any outdoor space. Whether you’re creating a cozy backyard retreat or illuminating a large patio, following these tips ensures a smooth and stunning setup. With the right outdoor lighting installation, you can enjoy beautiful evenings, increase security, and even boost your property’s curb appeal. Ready to brighten up your backyard? Start today with the perfect globe string lights setup!
FAQs
Q: How high should I hang globe lights?
A: Ideally, hang them at least 8–10 feet above ground level to prevent accidents and create a balanced look.
Q: Can I use indoor globe lights outdoors?
A: No, always use weatherproof outdoor lights designed to withstand outdoor conditions.
Q: What’s the best way to power globe lights in my backyard?
A: Use outdoor-rated extension cords, or solar-powered options, or install permanent outlets for convenience.
Q: What are some easy ways to make my outdoor lighting more energy-efficient?
A: Switch to energy-efficient outdoor lighting like LED bulbs, use timers, and consider solar-powered lights.
Q: What’s the safest way to install globe lights on trees?
A: Use tree-friendly clips or hooks to avoid damaging the tree bark.